Main Interface
Table of contents
Main Interface
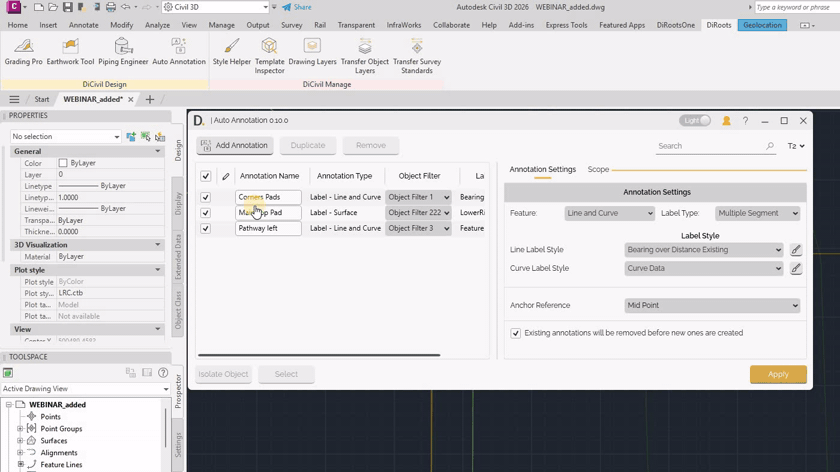
The Auto Annotation interface provides a row-based workflow where each row defines one annotation setup. The left table manages annotation rows, and the right panel shows the selected row configuration through two tabs: Annotation Settings and Scope.
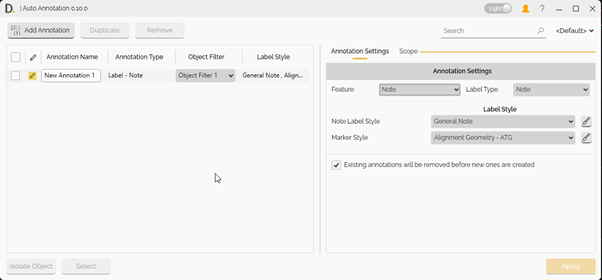 Image: Main interface with the annotation list and right-side configuration panel.
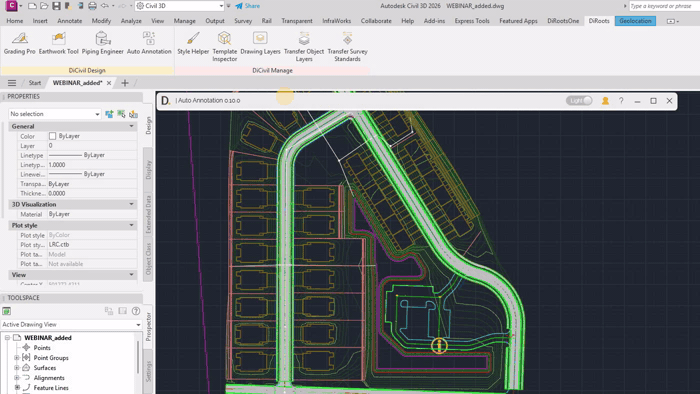
Note: the version on the image may not reflect the latest version of DiCivil Package.
Main Workflow
- Click Add Annotation to insert a new row.
- Select the row to open its configuration on the right panel.
- Configure Annotation Settings and Scope.
- Repeat for additional rows if needed.
- Check the rows you want to run.
- Click Apply to create annotations.
 Note: the version on the image may not reflect the latest version of DiCivil Package.
Finding Created Annotations
After creating annotations, you can work with the generated results from selected rows:
- Select - Select created annotations linked to selected rows.
- Isolate / Unisolate - Isolate or restore display of created annotations to review outputs quickly.
These actions help verify results and focus on specific annotation sets during iteration.
 Note: the version on the image may not reflect the latest version of DiCivil Package.
Profile Modification
Save, share, and modify profiles to quickly switch between standardized Auto Annotation setups and achieve desired documentation outcomes.
For details, see Profile.